This tutorial will demonstrate how to turn the Kookaberry and run an app and give it a name.
It is important to note that the Kookaberry does not have an on/off switch on the board. When the battery is plugged in, it is always ON until the power lead is removed. Even if the screen is blank, the Kookaberry is still powered ON.
Some functions such as moving the logged data into USB memory, require the Kookaberry to be turned OFF (ie, powered down). In these cases, the power lead is simply removed from the battery.
Turning on and running an app
Step 1
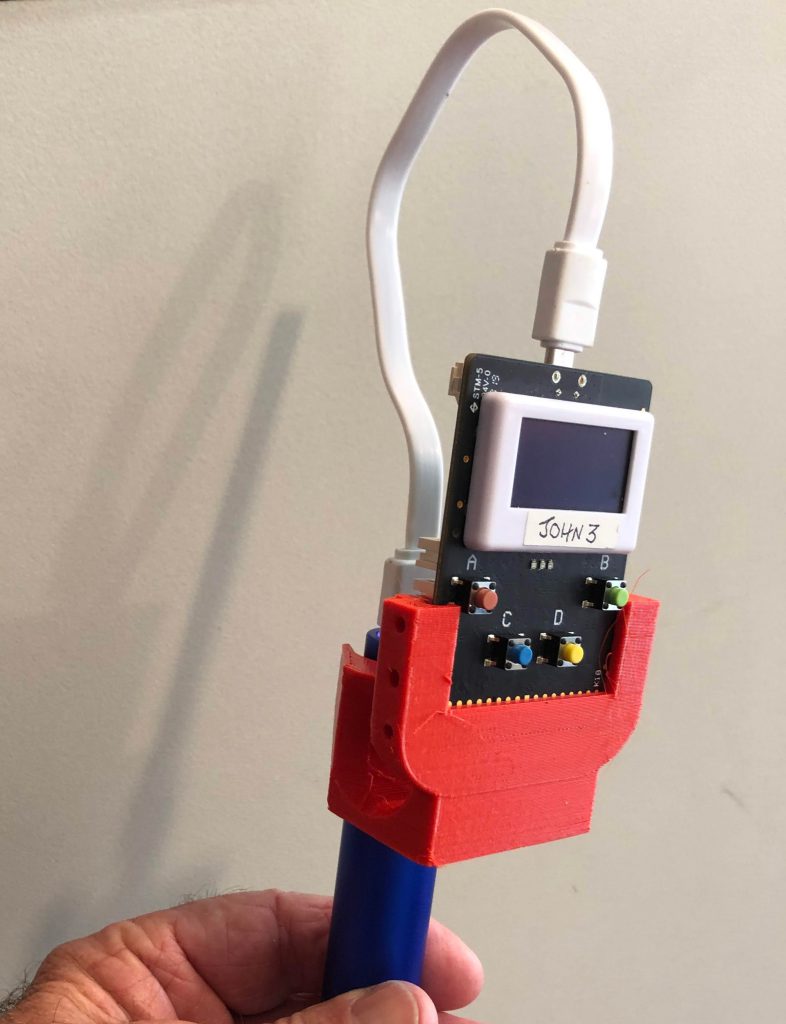
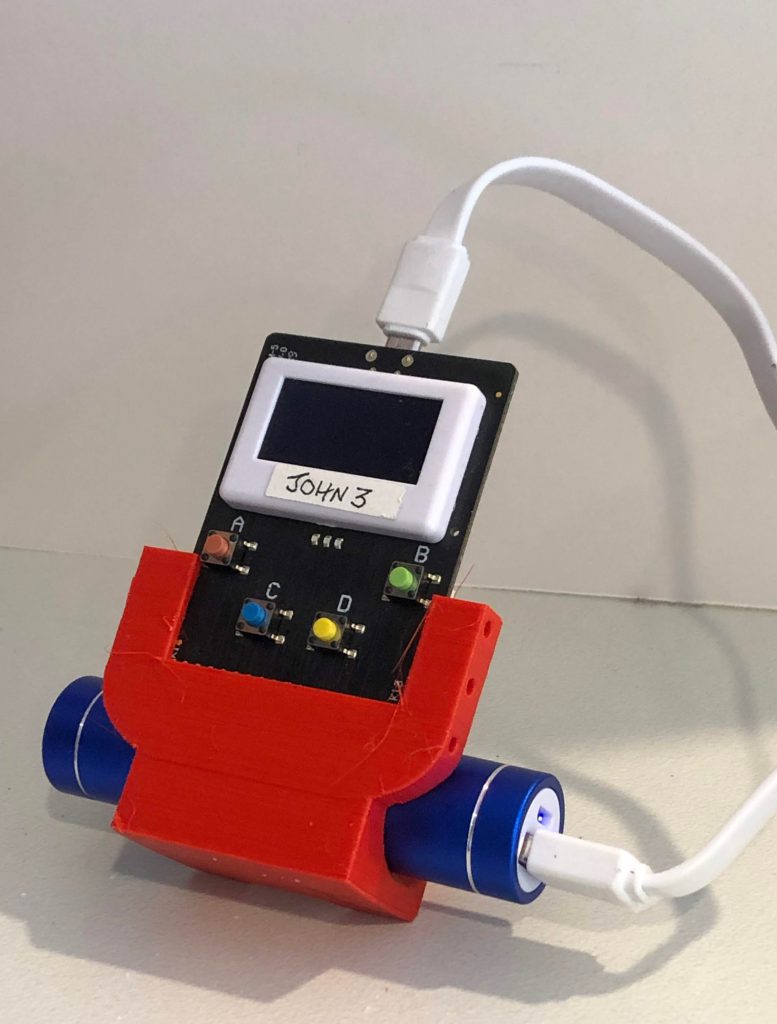
If an AustSTEM designed and 3D printed handle is available, push the Kookaberry into it with the screen facing forward, ie with the battery hole at the back.
Insert the battery into the vertical hole if being held in the hand, and into the horizontal hole if being stood on a flat surface
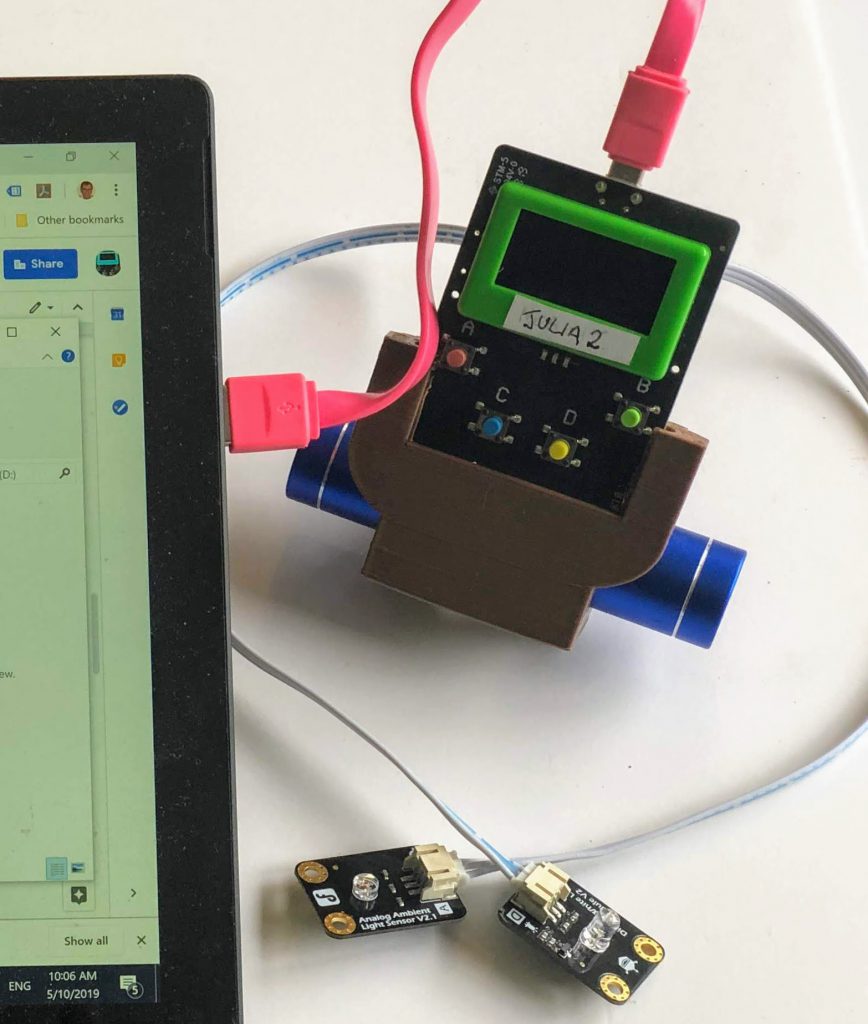
Connect the 5 Volt USB Lithium-Ion battery to the USB connector. A green LED should illuminate on the back of the Kookaberry indicating that the Kookaberry is now switched ON.
If a blue LED is pulsing slowly then the battery voltage is too low and the Kookaberry will soon become inoperative.
In such a case the battery should be replaced with another one that is fully charged.
The Kookaberry can also be powered directly from a USB charger or a battery box plugged into the battery connector.


Step 2
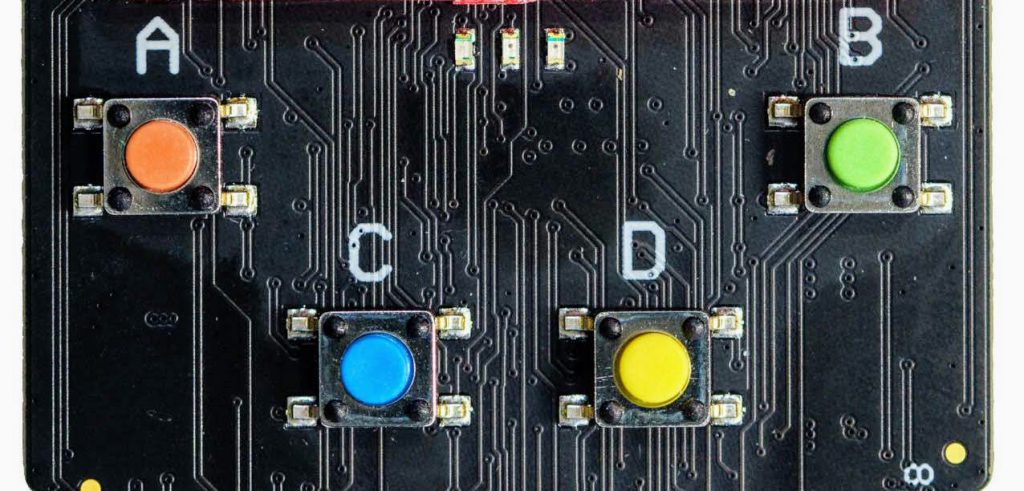
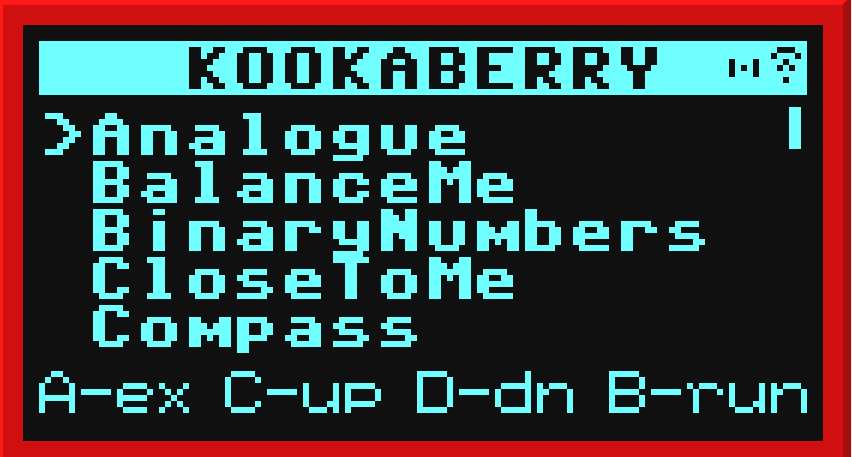
Start the Kookaberry’s Menu app by holding down the green B button, tapping the reset button on the back and then releasing the green B Button. This activates the Menu screen on the display.
The Menu shows a list of the MicroPython apps that are stored in the Kookaberry’s USB memory.
Step 3
Select the Kookaberry app that you wish to run by navigating up or down by pressing the C or D buttons respectively.
The cursor (>) on the left will move up or down the display and the list on the display will scroll up or down in response.
Press the B button to run the app.
Step 4
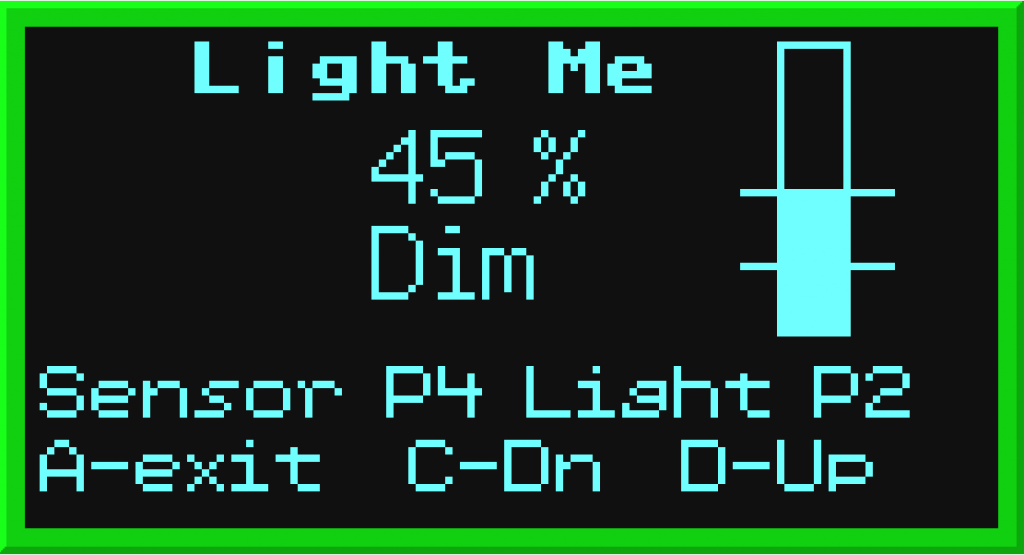
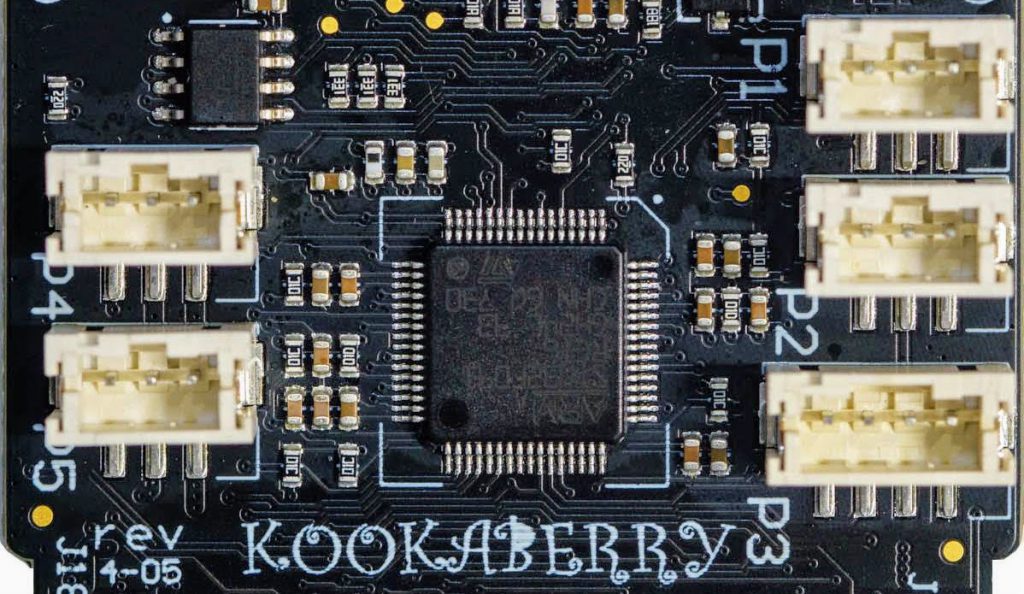
Read the prompts on the screen for the correct connectors for the peripherals and connect them to the relevant connectors (P1 to P5) on the back of the Kookaberry.
It is best to make such connections and disconnections when the Kookaberry is OFF as connecting them whilst it is ON sometimes causes it to reset and turn OFF.
If this happens, simply write down the correct connections, plug the peripherals into the correct connectors and turn it on again
Step 5
The display and buttons will then be controlled by the app that was run until it exits and returns to the Menu app.
In general, the A button is used as the exit button, both from the Menu and most other apps.
It is best to consult the documentation for the app being run to learn how to operate it.
Naming your Kookaberry
Step 1
Connect a Kookaberry to your computer using the USB/MiniUSB lead as shown to the right.
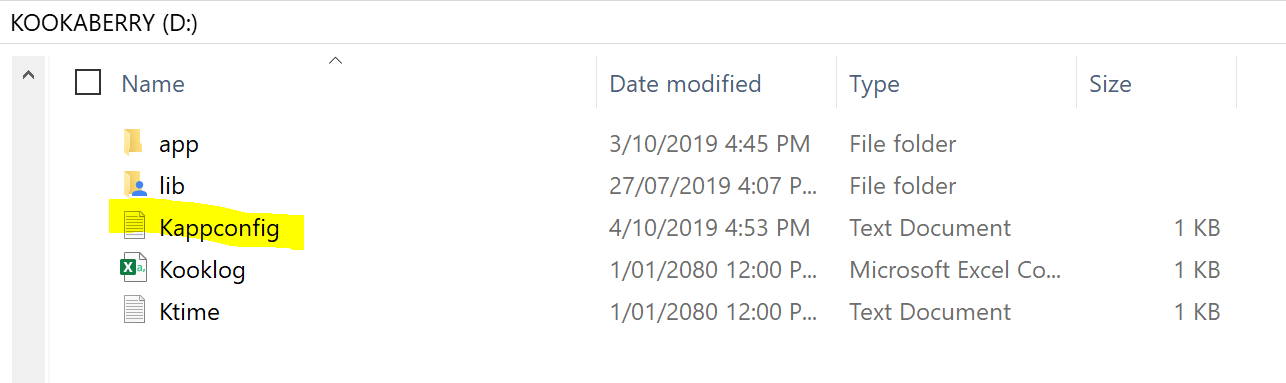
The contents of the USB memory will then be displayed.
Step 2
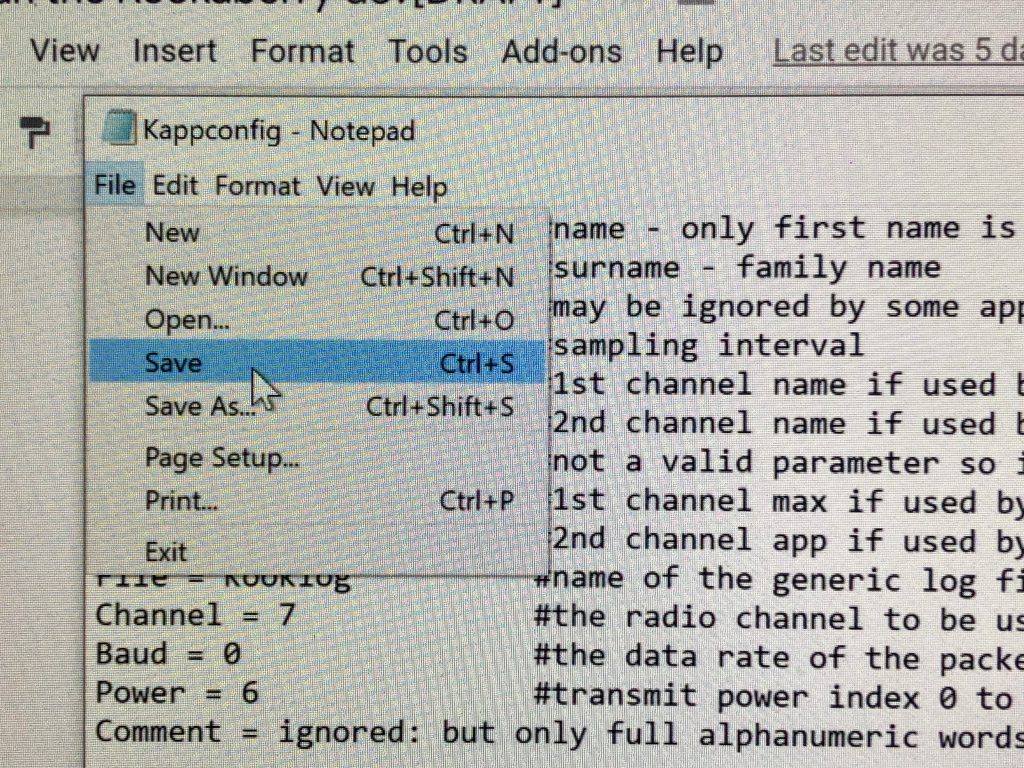
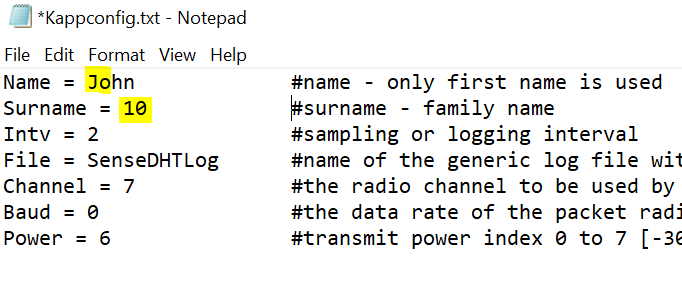
Double click on the Kappconfig file to open it. As this a text file, all fields can be edited directly.
The name that will be fixed to all data sent from this Kookaberry is the first two letters of the Name and the first two letters of the Surname.
Select the name that is already in the file by holding down the left button of your mouse and sliding the cursor across the name. Now type in the name you want to call it.
After the name is edited, the changes have to be saved by clicking on File (see Step3)
Step 3
Click File in the edit window (top left) and then click Save in the drop down menu. This will save your changes directly into the USB on-board memory.
The Kookaberry has now been re-named.
You can check the new name by running the Semaphore app. The name against the Tx. line is the name of your Kookaberry.